Amplifying Analog Voltages with the LM358
05.03.2025
Elektronik | Funk | Software
Der Technik-Blog

05.03.2025

25.02.2025
25.02.2025

12.02.2025
There is also a video on YouTube for this article: How to control the speed of large DC-Motors with an MOSFET and PWM (IRFZ44N) - Arduino Project
Microcontrollers like the Arduino or an ESP are certainly the cheapest control components on the market. You can easily control loads with these development boards or microcontrollers. However, if you want to switch large loads such as electric motors or powerful lamps, you can not do this without additional electronics, because the maximum output current of most microcontrollers are 50 milliamperes.In this article, we talk about MOSFET transistors and how they can switch large loads or regulate the power of a DC motor.
Relays are relatively simple. This makes it possible to switch galvanically isolated circuits and, depending on the relay type, even very large loads. The problem with the relay is that you can only switch loads on and off, but not regulate them. But often you want to dim a long LED strip, or let a large DC motor start slowly. This can be controlled with PWM signals via a MOSFET. In addition, MOSFET transistors are much smaller and cheaper than relays. For large loads, MOSFETs can get very hot, which is why very large heatsinks are often needed.?
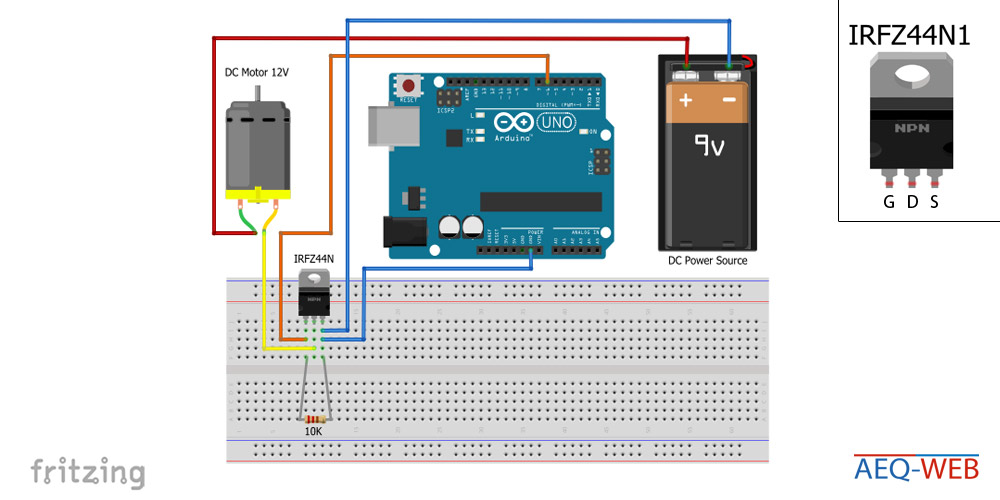
MOSFET stands for Metal Oxide Semiconductor Field Effect Transistor and is used to switch high currents. Although the transistor today contains polysilicon, the name has remained the same. Basically, this is a high power transistor that can switch very high currents and voltages. The control voltages are usually also higher in contrast to normal transistors such as the BC547. There are N-channel and P-channel types, but N-channel MOSFETs are increasingly being used because of better internal resistance. The MOSFET has the following PIN designations:?
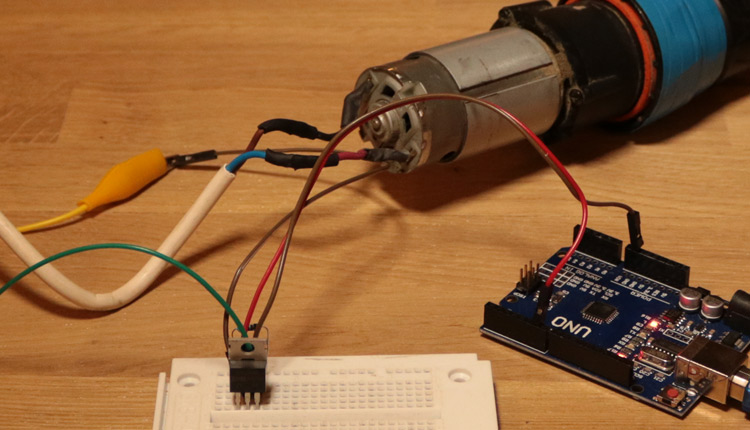
Basically, the MOSFET can be connected to a digital pin of the Arduino without any additional components. The I/O pin is connected directly to the gate. The ground of the power supply and the Arduino is connected to the source pin of the MOSFET. The ground from the motor is connected to the drain. If the load is to be controlled with the positive pole instead of the ground, then a P-channel MOSFET must be used. In addition, a pre-circuit of an NPN transistor at the gate is required because the Arduino switches only a positive voltage at the I/O pin. Between the gate pin and the source pin is still a resistor, which ideally has a value between 1K and 10K. This resistor turns the gate to ground so that the MOSFET immediately shuts off after a voltage drop from the gate and stops pervading for a period of time.?
Most microcontrollers have one or more I/O pins that can support PWM (Pulse Width Modulation). The power can be controlled with PWM over a MOSFET. This allows you to start an electric motor slowly, regulate the power of a heating coil or can dim a lamp. ?
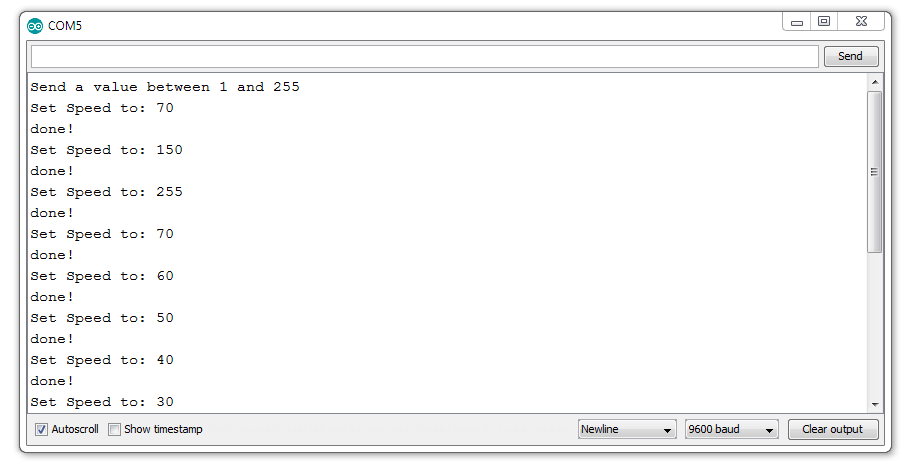
The example code drives the MOSFET via the digital PIN 6. The Serial Monitor will enter a value between 0 and 255, which will then be sent to the PWM pin. The end user can then, as in our example, be an electric motor that runs at different speeds depending on the given value.
int PWM_PIN = 6;
int pwmval = 0;

void setup() {
  Serial.begin(9600);
  pinMode(PWM_PIN,OUTPUT);
  Serial.println("Send a value between 1 and 255");
}

void loop() {
  if (Serial.available() > 1) {
      pwmval =  Serial.parseInt();
      Serial.print("Set Speed to: ");
      Serial.println(pwmval);
      analogWrite(PWM_PIN, pwmval);
      Serial.println("done!");
  }
}

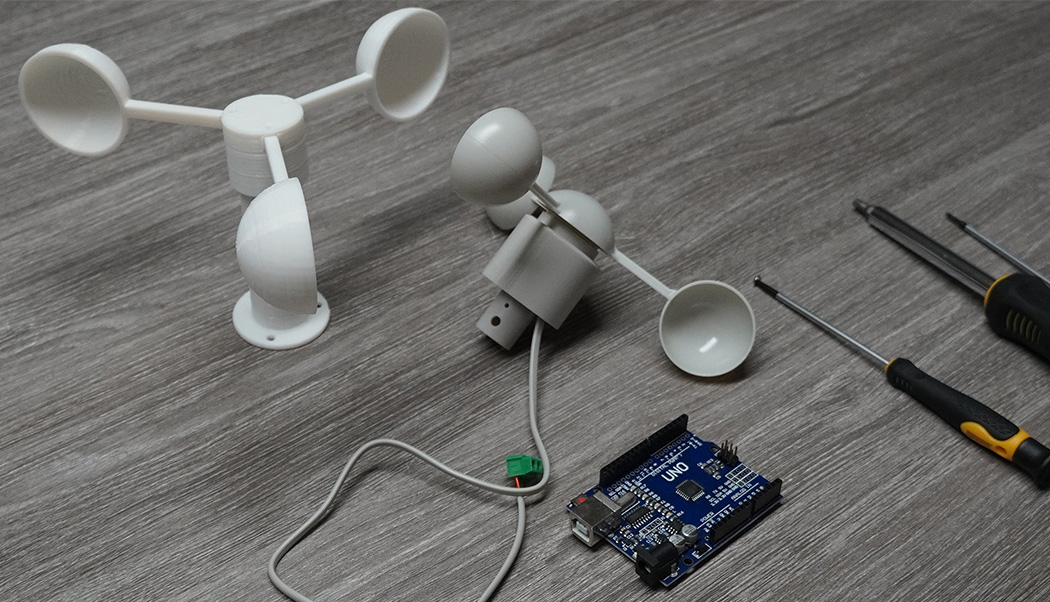
With a microcontroller like the Arduino, a small circuit and appropriate software the wind speed can be measured with an anemometer
read more
On this page we will show you how to make a data transfer with the CC1101 and an Arduino. Wiring plan and libraries are available on AEQ-WEB
read more
05.03.2025
25.02.2025
25.02.2025
12.02.2025
AEQ-WEB ist ein Blog von Alex & Andi, der sich mit Elektronik, Funk & Software beschäftigt
read moreAEQ-WEB © 2015-2026 All Right Reserved