Amplifying Analog Voltages with the LM358
05.03.2025
Elektronik | Funk | Software
Der Technik-Blog

05.03.2025

25.02.2025
25.02.2025

12.02.2025

Ubidots is a cloud service for the visualization of sensor data. In general, the LoRaWAN network TTN does not store any data, but only transports it to a defined cloud service such as Ubidots. The data from the sensor is then displayed there. This article is about setting up the webhook interface between TTN (The Things Stack) and Ubidots.
Ubidots collects data from IoT devices through various interfaces. This data is stored by Ubidots and displayed graphically in a dashboard. Additionally, history graphs can be created over individual values. Basically, Ubidots STEM is free for private use and for educational purposes with up to three devices.
In order for Ubditos to accept data from TTN, the sensor must already be communicating with TTN. In addition, a corresponding payload decoder must be available. As an example for this project the LoRIS-Base system from ELV with the Temp-Hum1 module was used. More information can be found in this Video (German) and on the ELV Website (German).
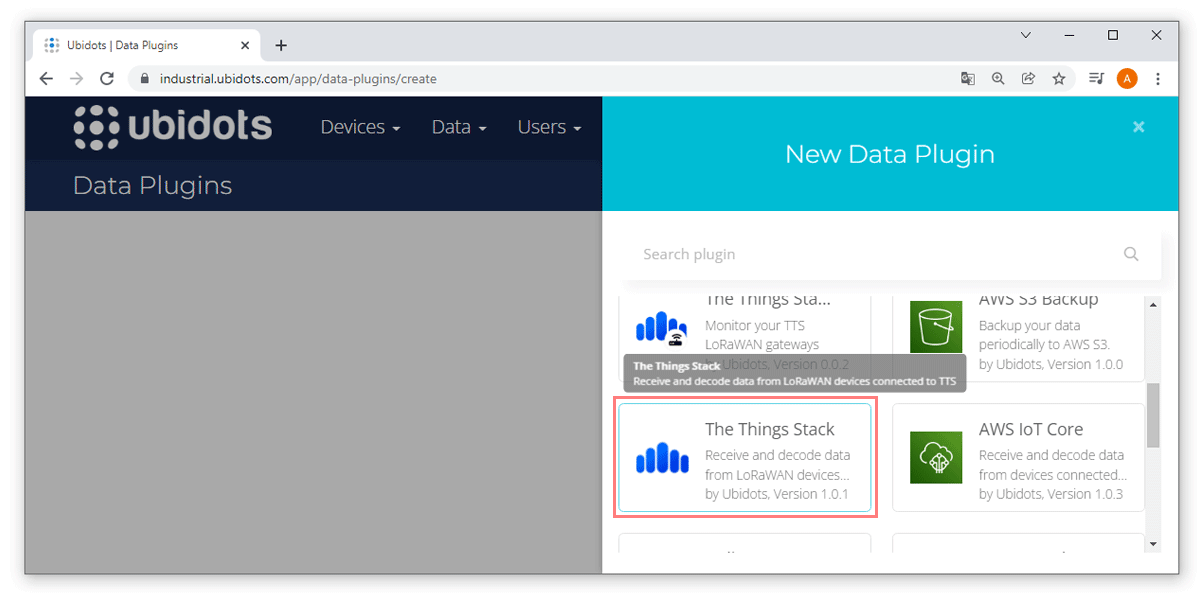
After registering with Ubditos, a new TTN (The Things Stack) plugin must be inserted under the menu item "Devices -> Data Plugin":
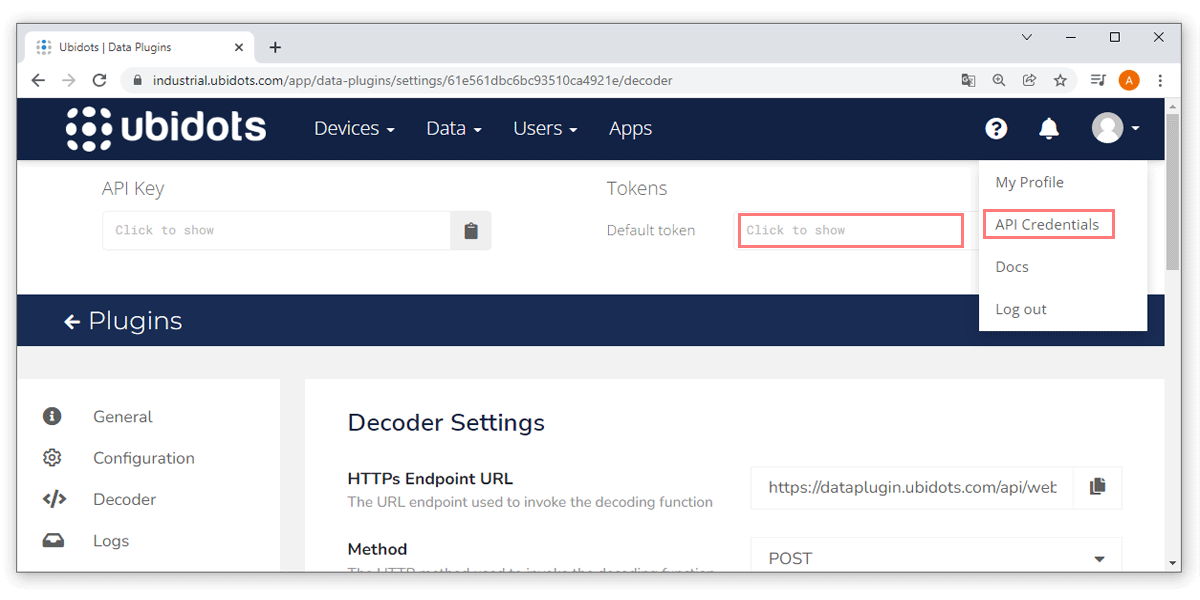
The token is a key for an interface. This ensures that only TTN can send data to Ubidots in this case. With the registration a default token is automatically created which can be used:
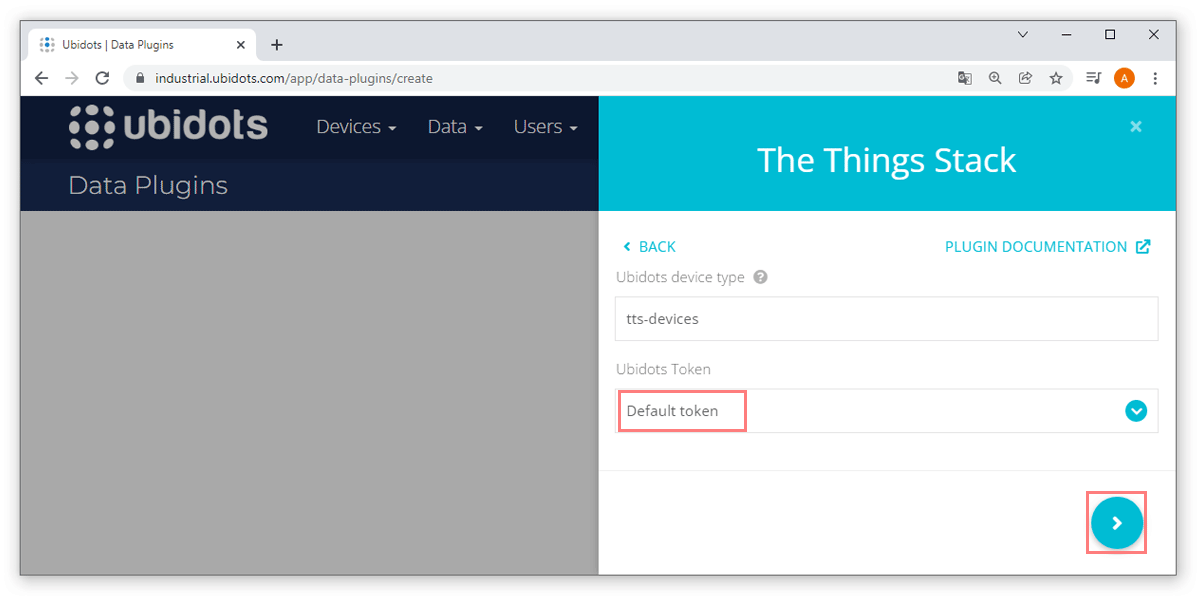
The data plugin can be assigned by a name and a description:

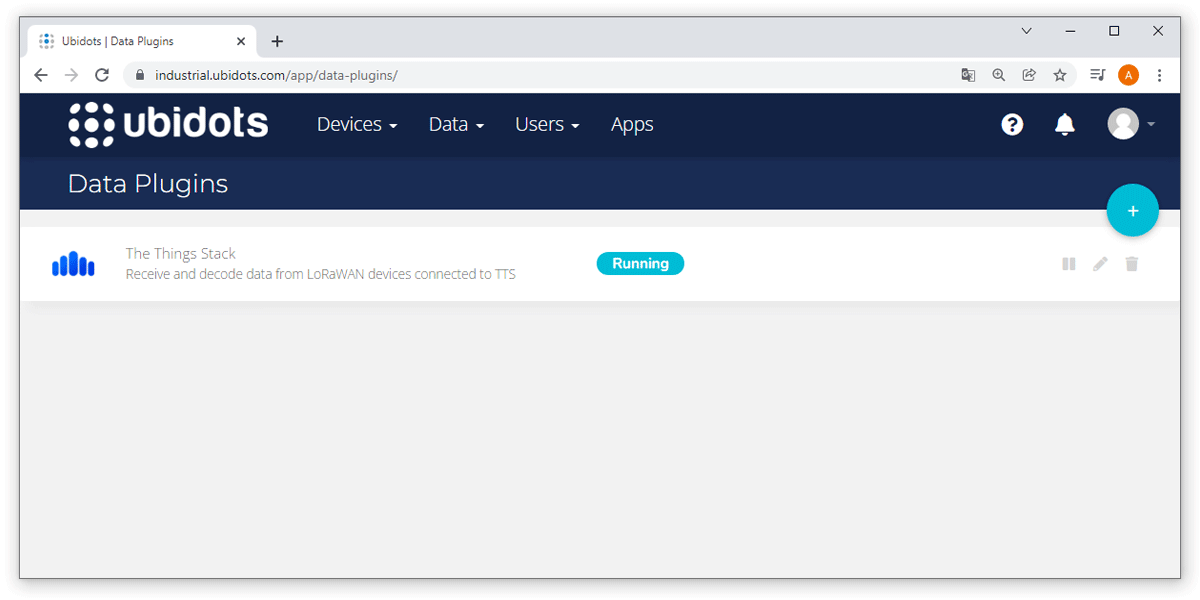
The plugin is ready to use immediately after creation. Next, the plugin is edited to get the necessary keys for TTN:
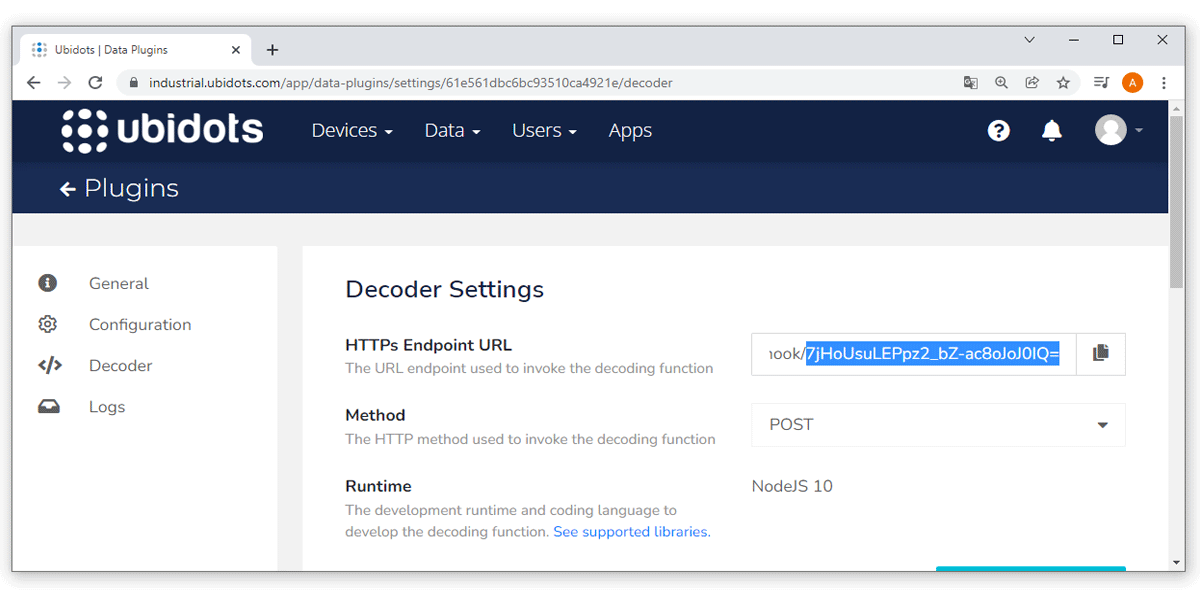
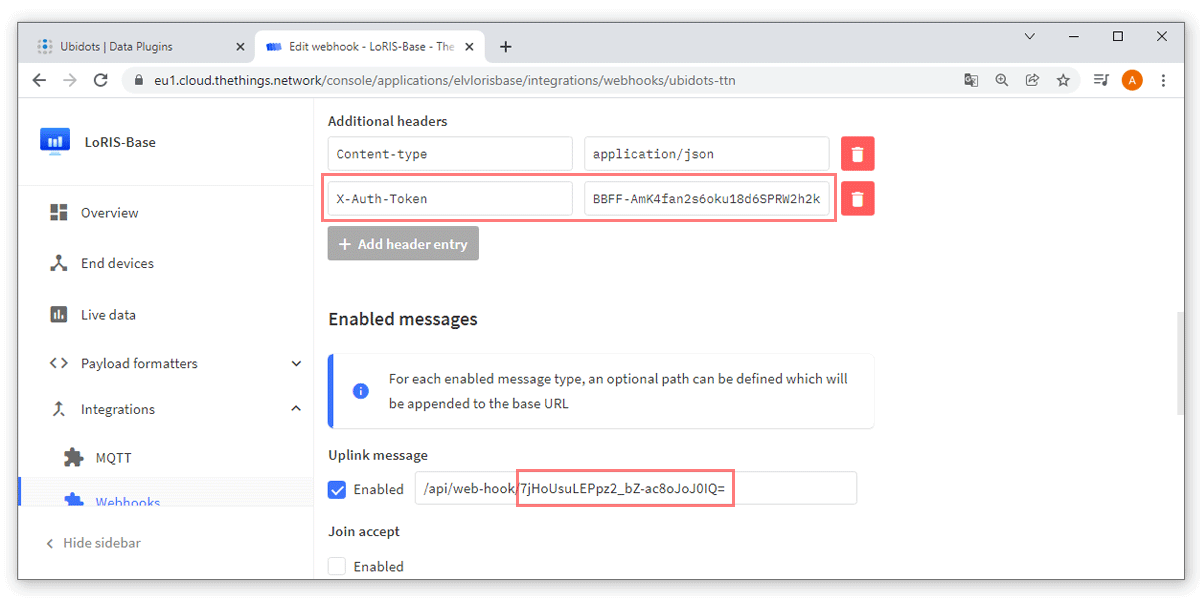
The endpoint URL is the URL that TTN uses to transfer the user data to Ubidots. The key at the end of the URL is important, because TTN inserts it in the webhook:
The Auth-Token must also be inserted into the Ubditos-Webhook at TTN. It is the default token (if not chosen otherwise):
Ubdiots can decode the LoRaWAN payload using its own decoder. Since TTN already decodes the payload and passes it to Ubidots in JSON format, the internal decoder must be disabled. For this purpose line 37 is commented out and lines 41, 42 are commented:

Alternatively, the following decoder can be used:
function format_payload(args){
  var ubidots_payload = {};
  // Log received data for debugging purposes:
  // console.log(JSON.stringify(args));
  // Get RSSI and SNR variables using gateways data:
  var gateways = args['uplink_message']['rx_metadata'];
  for (const i in gateways) {
    // Get gateway EUI and name
    var gw = gateways[i];
    var gw_eui = gw['gateway_ids']['eui'];
    var gw_id = gw['gateway_ids']['gateway_id'];
    // Build RSSI and SNR variables
    ubidots_payload['rssi-' + gw_id] = {
      "value": gw['rssi'],
      "context": {
        "channel_index": gw['channel_index'],
        "channel_rssi": gw['channel_rssi'],
        "gw_eui": gw_eui,
        "gw_id": gw_id,
        "uplink_token": gw['uplink_token']
      }
    }
    ubidots_payload['snr-' + gw_id] = gw['snr'];

  }

  // Get Fcnt and Port variables:
  ubidots_payload['f_cnt'] = args['uplink_message']['f_cnt'];
  ubidots_payload['f_port'] = args['uplink_message']['f_port'];

  // Get uplink's timestamp
  ubidots_payload['timestamp'] = new Date(args['uplink_message']['received_at']).getTime();

  // If you're already decoding in TTS using payload formatters,
  // then uncomment the following line to use "uplink_message.decoded_payload".
  // PROTIP: Make sure the incoming decoded payload is an Ubidots-compatible JSON (See https://ubidots.com/docs/hw/#sending-data)
   var decoded_payload = args['uplink_message']['decoded_payload'];

  // By default, this plugin uses "uplink_message.frm_payload" and sends it to the decoding function "decodeUplink".
  // For more vendor-specific decoders, check out https://github.com/TheThingsNetwork/lorawan-devices/tree/master/vendor

  // Merge decoded payload into Ubidots payload
  Object.assign(ubidots_payload, decoded_payload);
  return ubidots_payload
}

module.exports = { format_payload };
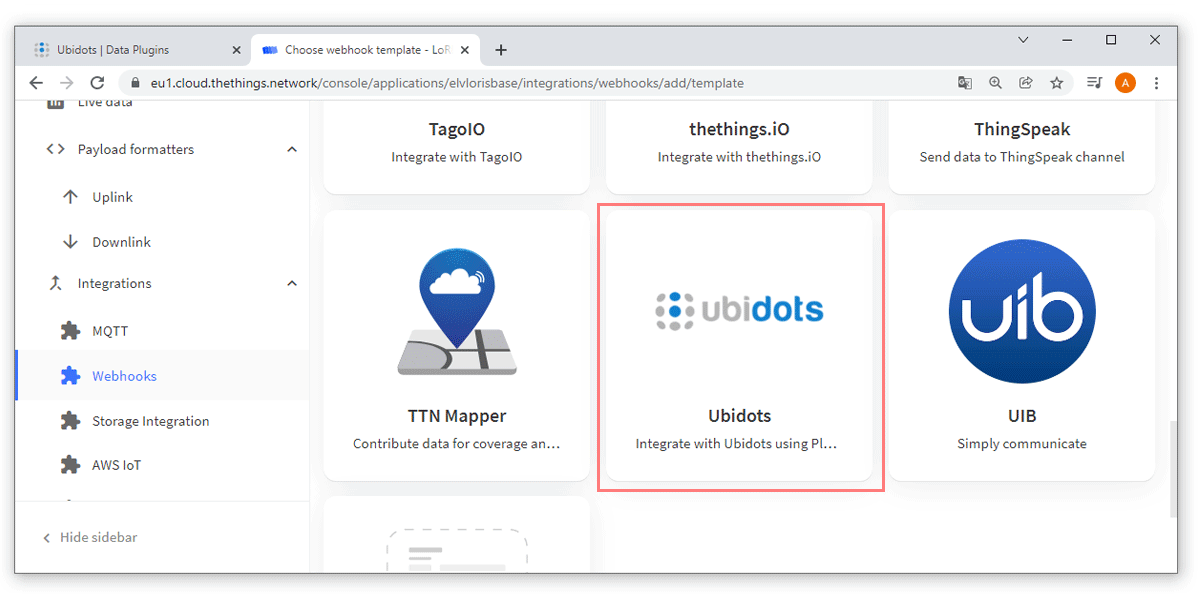
After the endpoint URL and token are known, TTN sets up a webhook integration in the application:
TTN now needs the plugin ID (see point 5) and the Ubidots token (see point 6). Afterwards the webhook will be created:
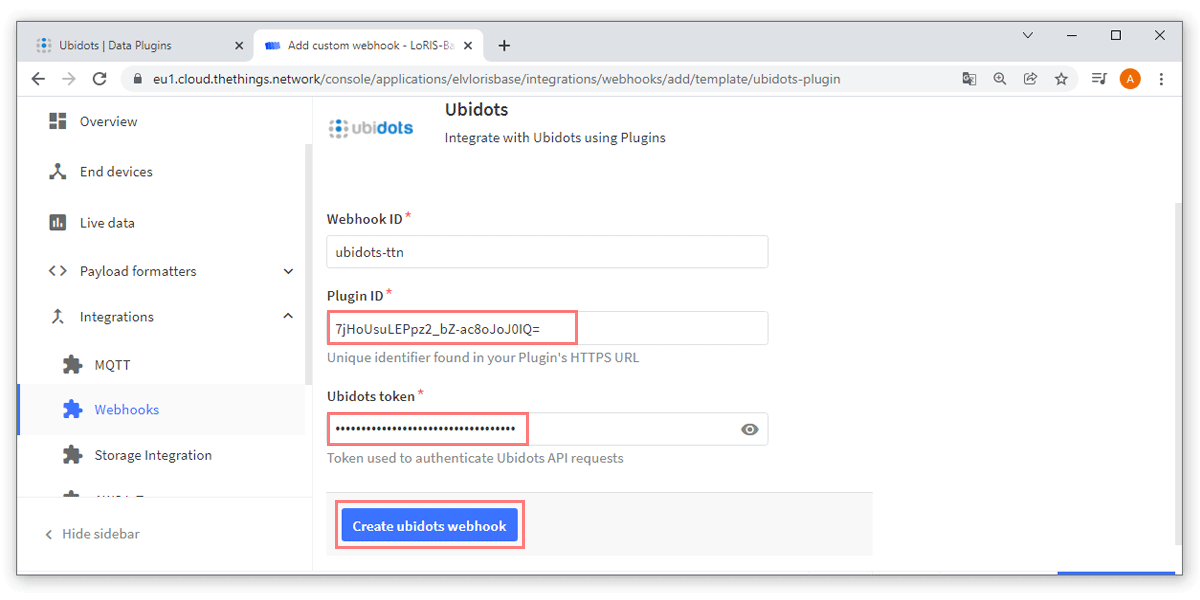
Special characters are often reformatted during copying. Therefore, both keys should be checked again:
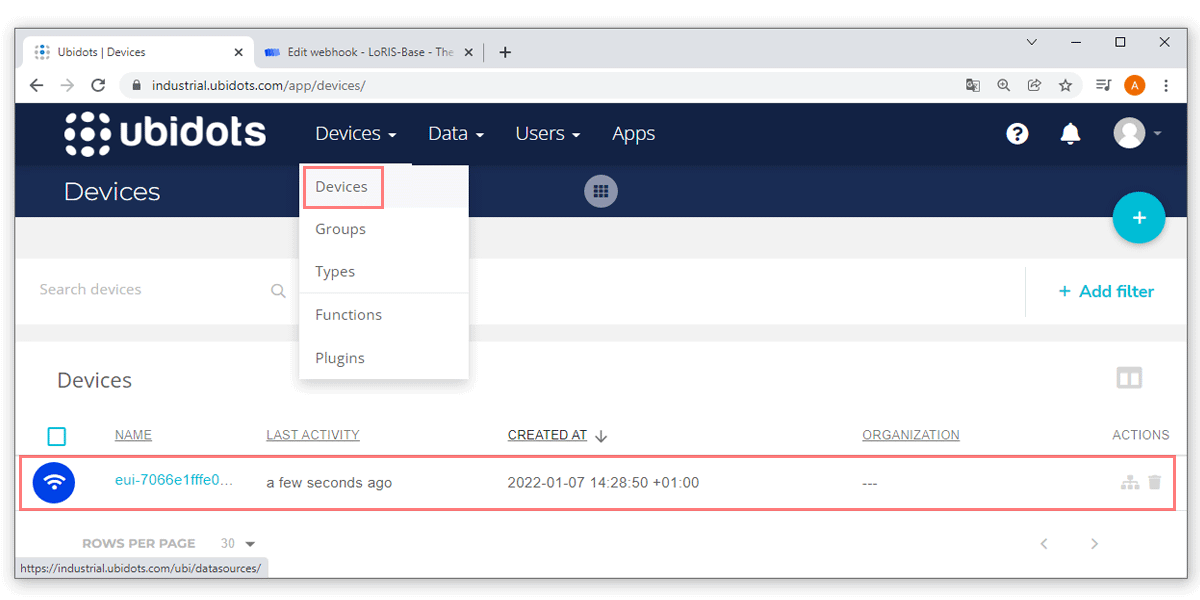
As soon as new data from the sensor arrives at TTN, it will be sent to Ubidots from now on. Ubditos automatically creates a new device for this purpose:
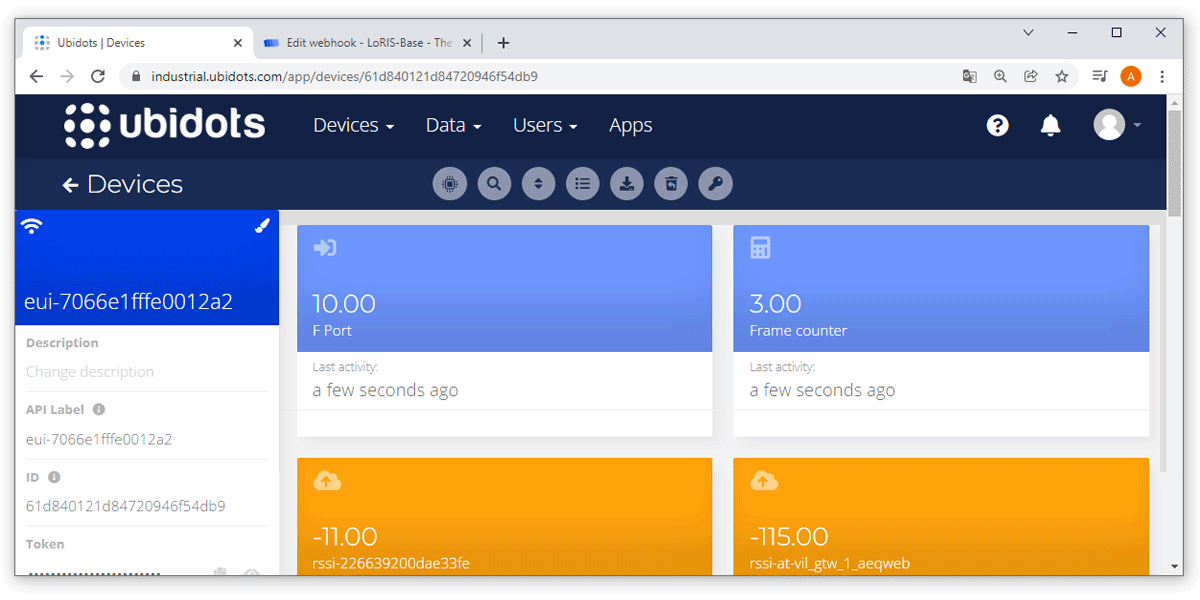
If you click on the new device, all available values will be displayed:
A new dashboard can be created on the home page, where only the desired data is displayed. For each measured value there can be chosen different widgets:
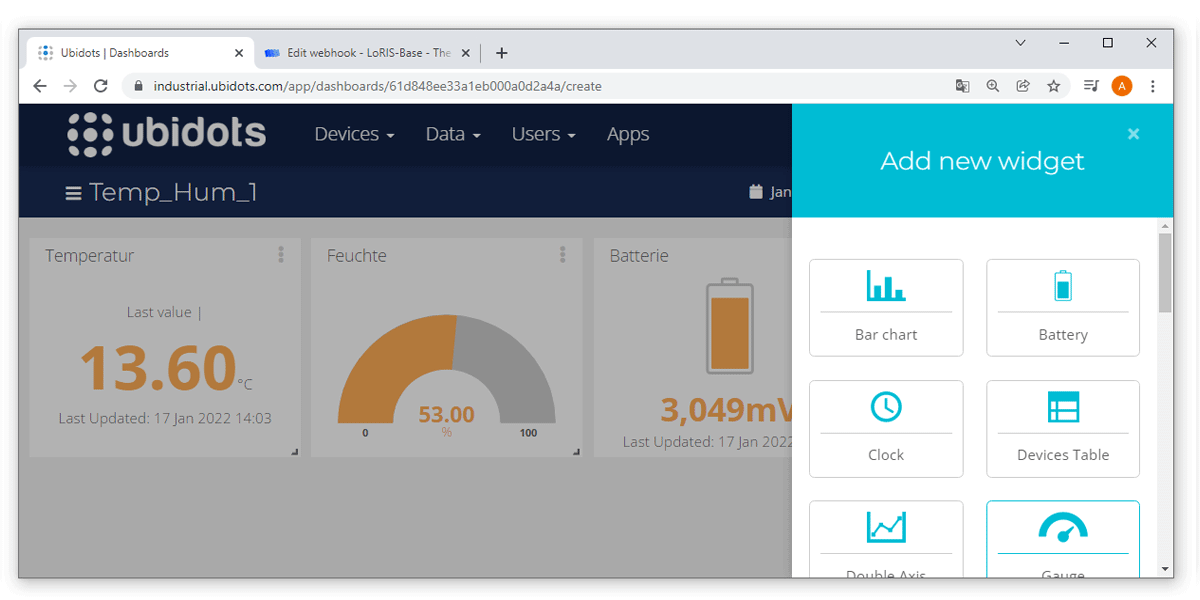
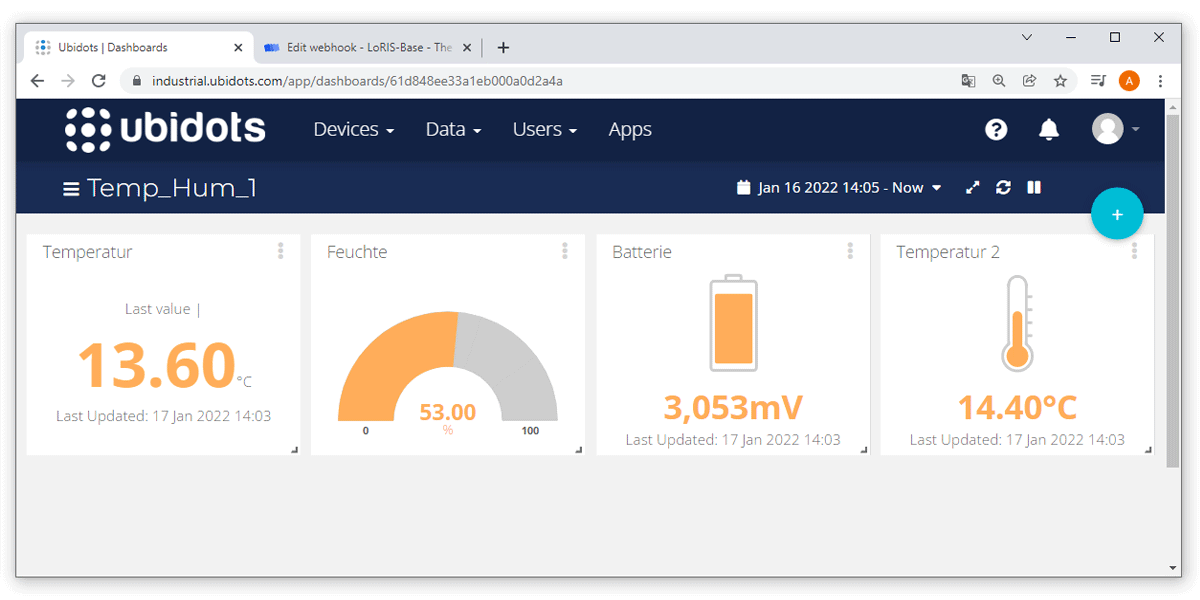
After the dashboard with the widgets has been set up according to your own preferences, it may look like this:

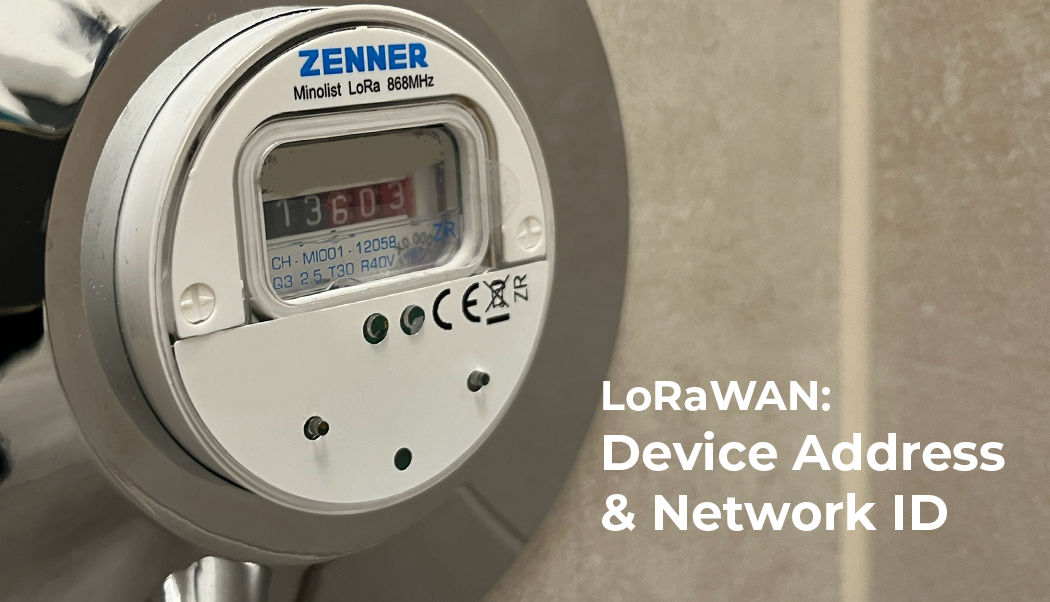
Each LoRaWAN end device has its own device address, which is either statically assigned (ABP) or assigned by the LoRaWAN network (OTTA)
read more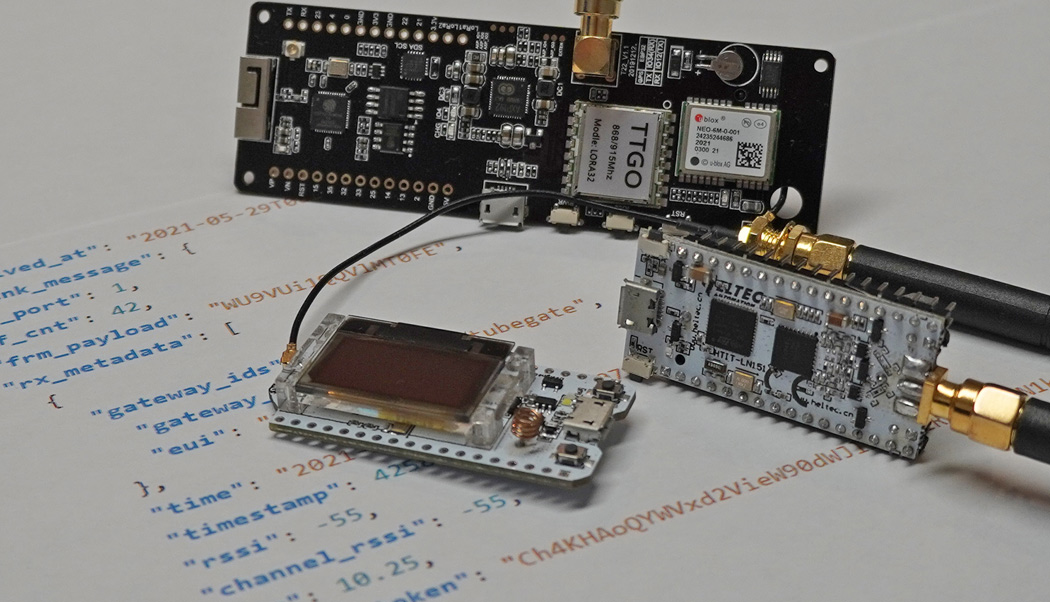
The Frame Counter (ABP) is an important security feature in the LoRaWAN network. This article is about the permanent storage of the current counter.
read more
05.03.2025
25.02.2025
25.02.2025
12.02.2025
AEQ-WEB ist ein Blog von Alex & Andi, der sich mit Elektronik, Funk & Software beschäftigt
read moreAEQ-WEB © 2015-2026 All Right Reserved