Amplifying Analog Voltages with the LM358
05.03.2025
Elektronik | Funk | Software
Der Technik-Blog

05.03.2025

25.02.2025
25.02.2025

12.02.2025
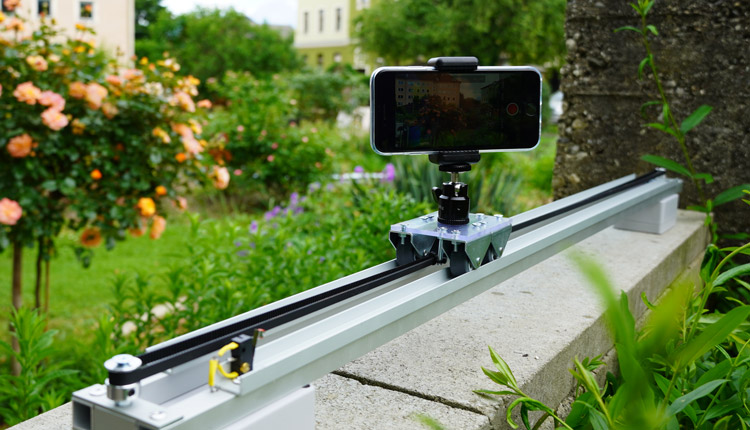
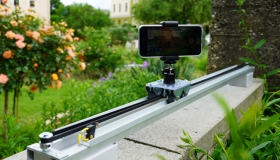
Camera Sliders are used in many video projects for special scenes. Most sliders have a length of half a meter to just a little bit over one meter. The advantage of electric sliders is the slow speed and distance that a camera needs. The purpose is so extensive that such sliders are a must for every filmmaker. However, useful cam sliders cost several hundred dollars, which is why we decided to develop our own slider for our projects. This project is not only an important piece of equipment for us, so we would like to share the idea with our visitors.
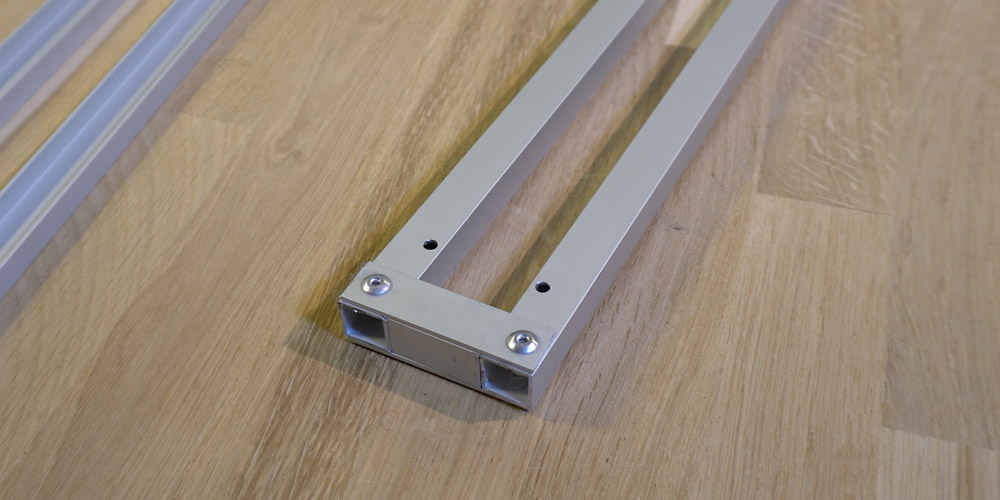
As a basis we use U-profiles and square tubes made of aluminum. These are available in every hardware store. The base consists of square tubes, which are riveted together. On these tubes are two U-profiles, which form the rails on which the slider moves back and forth. Between the rails is the V-belt, which pulls the slider over a deflection wheel and a stepper motor.
For a camera slider, a strong, fluid running and slow engine is needed. Exactly for such properties, a stepper motor is best. Stepper motors require a driver that generates a rotating field. This allows the engine to approach very precise positions. Depending on the engine, a step can be a half, quarter, full turn or a certain number of degrees. Due to the high mechanical internal resistance, the motor can hardly rotate in the currentless state and serves as a brake.
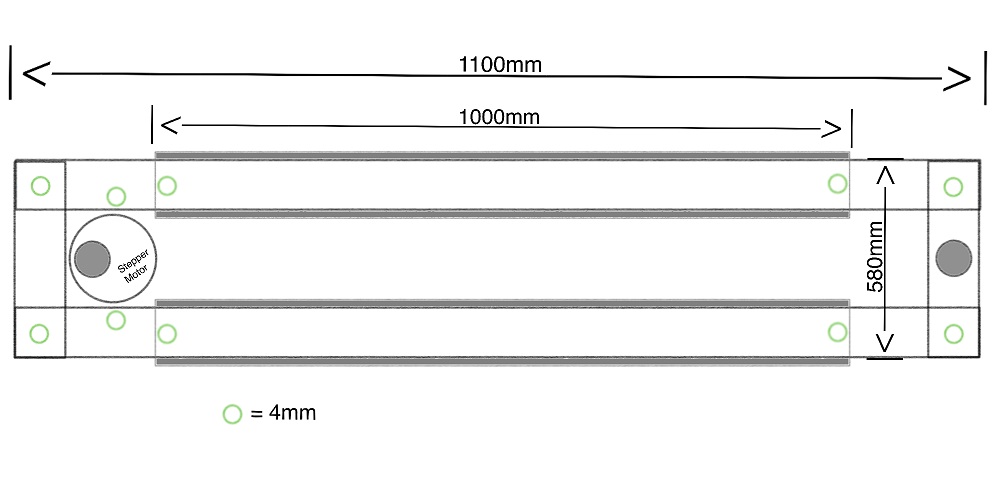
The slider is firmly mounted on the V-belt. The V-belt is driven through the axle by the stepper motor via a GT2 pulley. On the opposite side, the drive roller acts as a deflection roller, which is fixed on an M4 screw. The slider consists of a cut Plexiglas disk on which four rollers are mounted. The rolls are slightly less wide than the U-profiles. It is important that the V-belt is well tensioned so that it can not slip through the engine.
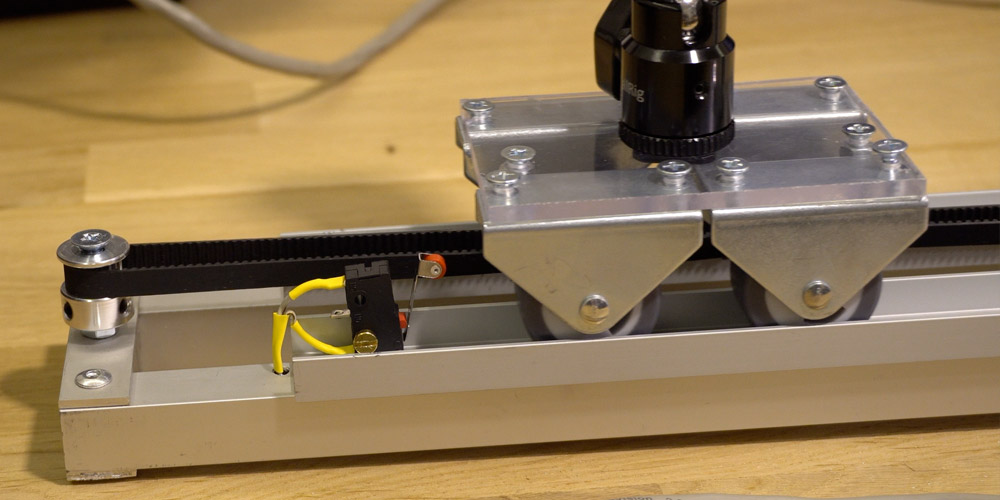
On one end of the rail, a microswitch must be installed. This sensor detects when the slider has arrived at the end of the rail and defines the zero point. Further details on the sensor can be found on the second page on the subject of electronics.
| Material |
|---|
| 2x 15x15x2000mm Square tube |
| 2x 20x5x1000mm U-Profile |
| 1x 15x1x1000mm Aluminum Flat bar |
| 4x transport wheels |
| 2x GT2 pulley |
| 1x V-belt (about 2,5m) |
| Rivets, Plexiglas, M4 screws |
| Tools |
|---|
| Riveting pliers |
| Drilling machine |
| Drill chuck |
| Metalsaw |
| Measuring tool |
| Screwdriver |
| Abrasive paper |
The second article about this project (electronic part) will be published soon!


This article is a short instruction how to install the CubeIDE from STM. After install, we create a simple blink example with the onboard led in c
read more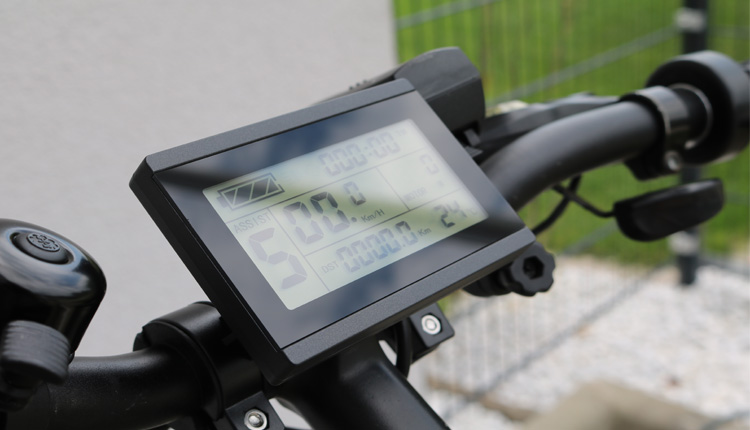
In this article we show how a conventional bike is converted into an electric bike and what hardware is needed for it.
read more
05.03.2025
25.02.2025
25.02.2025
12.02.2025
AEQ-WEB ist ein Blog von Alex & Andi, der sich mit Elektronik, Funk & Software beschäftigt
read moreAEQ-WEB © 2015-2026 All Right Reserved