Amplifying Analog Voltages with the LM358
05.03.2025
Elektronik | Funk | Software
Der Technik-Blog

05.03.2025

25.02.2025
25.02.2025

12.02.2025
There is also a video on YouTube for this article: Arduino NRF24L01 (German)
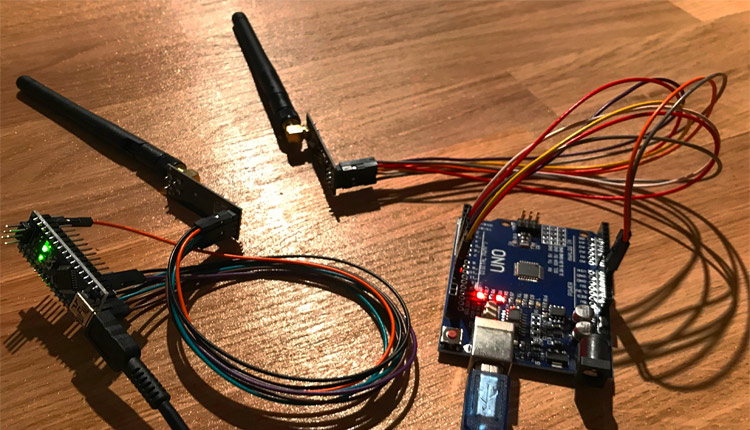
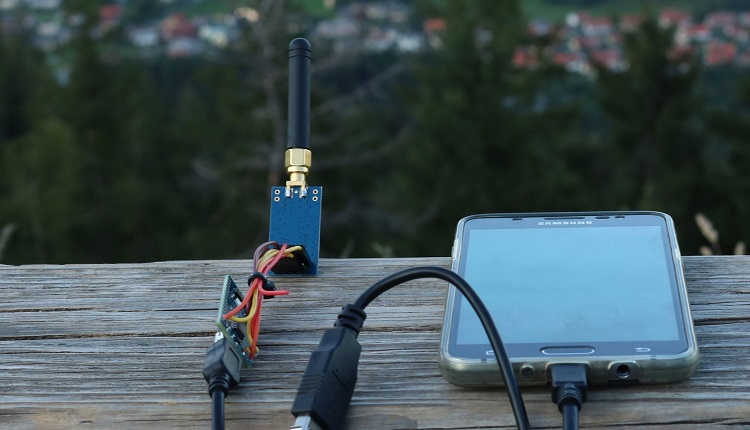
The radio module NRF24L01 is a further development of the traditional NRF24. The new version is also known as nRF24L01 + PA + LNA. This version has a powerful amplifier and an external antenna connector, where ranges of up to 1000 meters should be possible. The module in this article is operated with an Arduino Uno Board. The first module works as a transmitter and the second one works as a receiver. But each module can send and receive, so a transmission in both directions is possible.
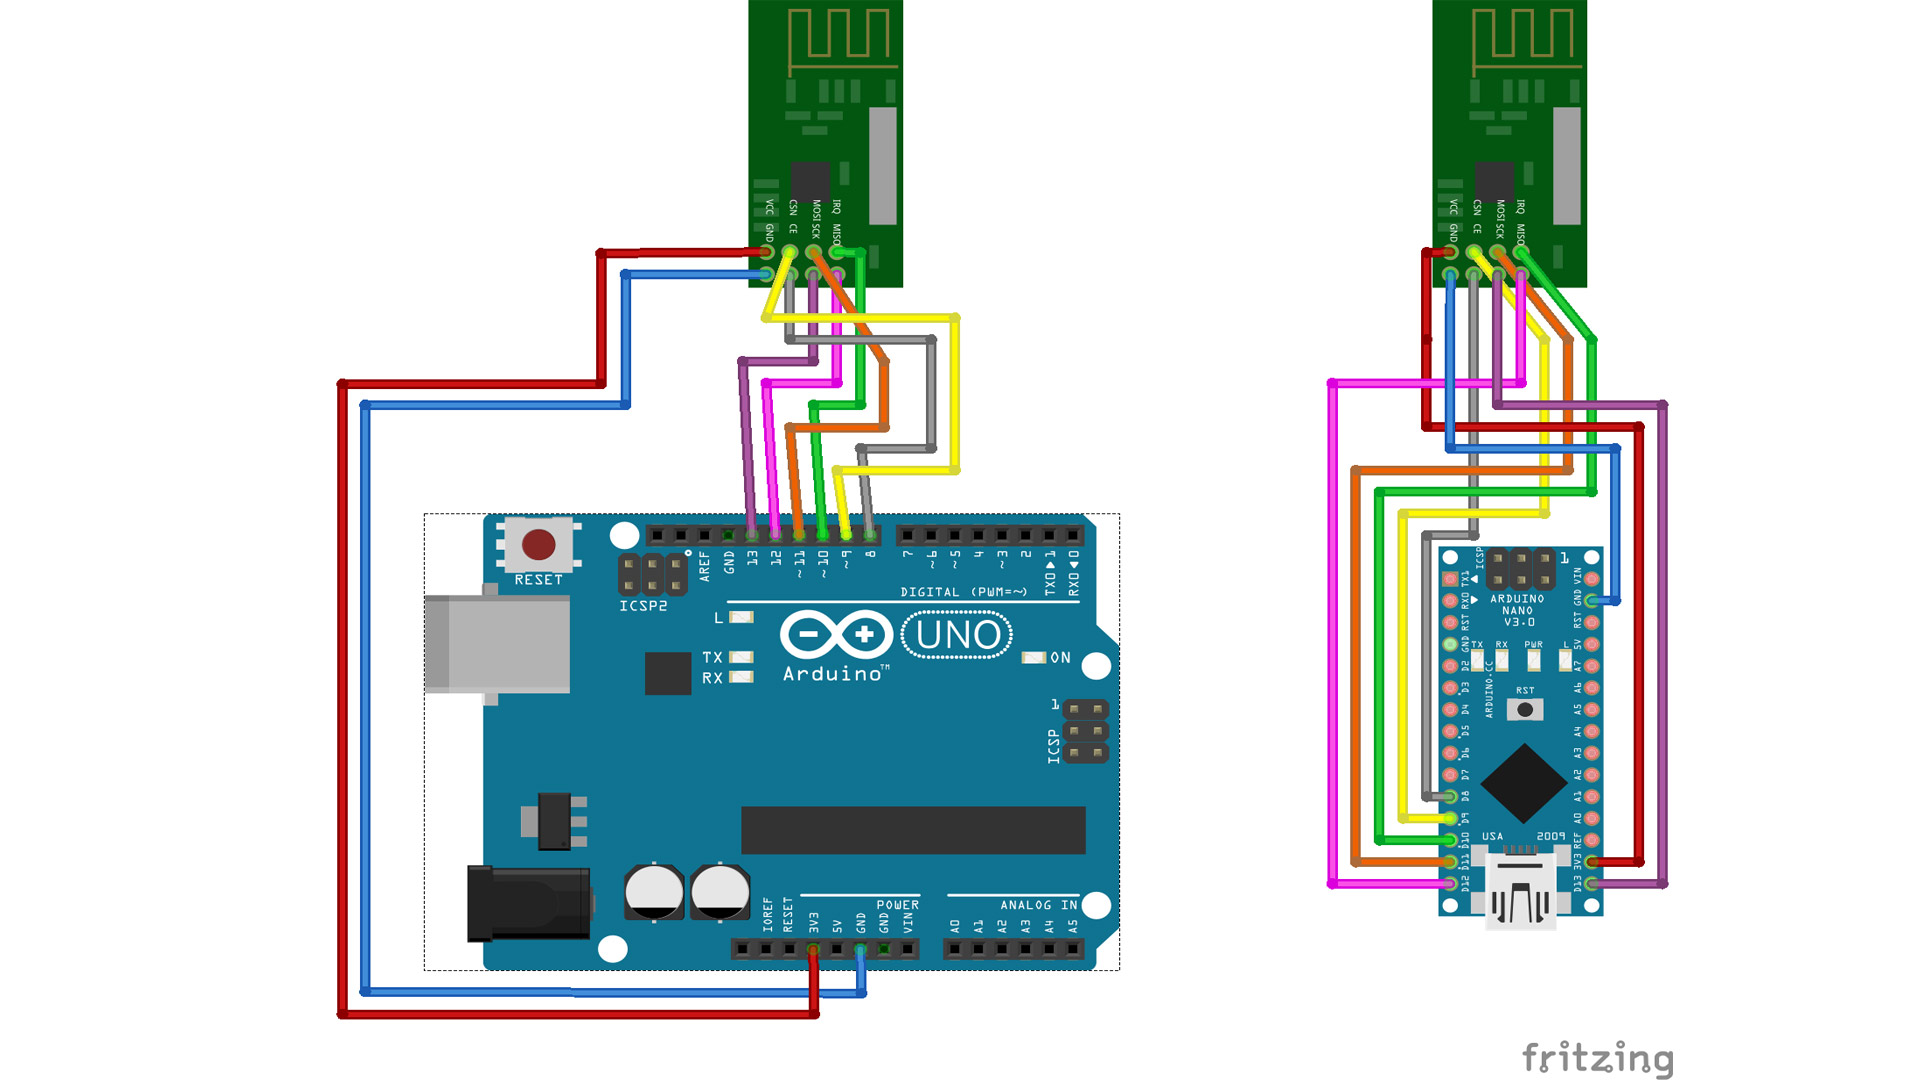
The module uses the SPI interface as connection to the Arduino board. In addition, two more pins (CSN & CE) are necessary.The module does not require any additional power supply, but it must be connected to the 3.3 volt pin. Do not power the module with 5 volts, because it can damage it!Data lines can be connected directly to the module without a voltage reduction.
The sender and receiver have their own software. The configuration and pin assignment is the same on both sides. The parameter that is transmitted can be sent as a string and will also be printed as a string on the receiver side. With a software extension, the string can be split. This makes it easy to exchange several parameters in one transmission. The example code is very simplified and shows the minimum settings for a data exchange. In addition, the NRF24 Library is needed.
#include <SPI.h>
#include <nRF24L01.h>
#include <RF24.h>const byte rxAddr[6] = "00001"; //TX adress (Same as on RX)
int counter = 0; //Count TX (Only for demo example)
RF24 radio(8, 9); //Define Radio (CE-PIN,CSN-PIN)void setup() {
while (!Serial);
Serial.begin(9600);
radio.begin();
radio.setPALevel(RF24_PA_MAX); // Transmit Power (MAX,HIGH,LOW,MIN)
radio.setDataRate( RF24_250KBPS ); //Transmit Speeed (250 Kbits)
radio.setRetries(15, 15);
radio.openWritingPipe(rxAddr);// Disable Receiver
radio.stopListening();
}void loop() {
counter++;String str = "Send Counter: ";
str += String(counter);
int str_len = str.length() + 1;
char char_array[str_len];
str.toCharArray(char_array, str_len);
radio.write(&char_array, sizeof(char_array));
Serial.print("Actual Transmission: ");
Serial.println( char_array );
delay(250);
}
#include <SPI.h>
#include <nRF24L01.h>
#include <RF24.h>RF24 radio(8, 9); //Define radio (CE-PIN,CSN-PIN)
const byte rxAddr[6] = "00001"; //RX adress (Same as on TX)
String received_data;void setup()
{
// Start the serial
Serial.begin(9600);
Serial.println("NRF24 Receiver");
radio.begin();
radio.setPALevel(RF24_PA_LOW); // Transmit Power (MAX,HIGH,LOW,MIN)
radio.setDataRate( RF24_250KBPS ); //Transmit Speeed (250 Kbits)
radio.openReadingPipe(0, rxAddr);
radio.startListening();
}void loop()
{
if (radio.available())
{
char text[100] = {0}; //Buffer
radio.read(&text, sizeof(text));
received_data = String(text);
Serial.println(received_data);
delay(20);
}
}
The modules are very powerful. It should be possible to transmit data of several hundred meters. For this we will make a range test with the modules. In our first test, we have already done a clean data transfer at a distance of 130 meters (free view).

On this page we will show you how to make a data transfer with the CC1101 and an Arduino. Wiring plan and libraries are available on AEQ-WEB
read more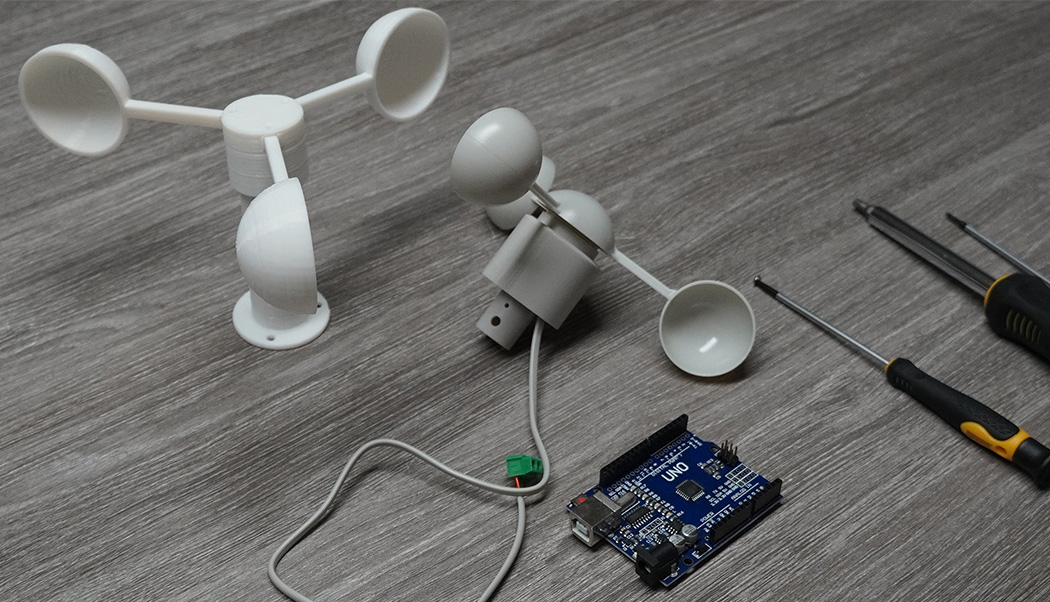
With a microcontroller like the Arduino, a small circuit and appropriate software the wind speed can be measured with an anemometer
read more
05.03.2025
25.02.2025
25.02.2025
12.02.2025
AEQ-WEB ist ein Blog von Alex & Andi, der sich mit Elektronik, Funk & Software beschäftigt
read moreAEQ-WEB © 2015-2026 All Right Reserved